I might even make a flowchart on this topic…
Search
Chances are, someone else has either been in a similar situation, or had a similar problem. You might be able to get an answer immediately by searching. Depending on the forum you’re browsing, your search options might be limited – so try Google. Often, you can type a question into Google, and it will bring up forum results of similar questions asked by others. It’s important to spell things, especially technical names or numbers that Google might not auto-correct, correctly – the same goes for terminology. For example, “What LaRue Mount for Aimpoint CompM3” is probably going to be more effective than “lowry scop mount lazer site”.
Also, don’t forget about “stickied” topics. They’re often full of excellent and helpful information, and are worth browsing before you post a question.
Why is this important? Well, most forums only allow 10, 20, 50 etc topics on the first page (which has the most visibility), so by limiting the number of unnecessary threads, folks with unusual problems can get help fast.
Contact the Company
This is especially true for technical problems. You might be absolutely convinced that your part is broken or that it was manufactured incorrectly, but it may be a design feature or you may be putting it together wrong. If you’re wrong, you could hurt a struggling small business by posting a false comment that will be accessible to anyone with Google for all eternity. If you’re right, you may get a quicker answer or a lightning-fast service offer if you call or email the manufacturer or dealer first.
There are a few exceptions. If it’s the middle of the night, and you’ve got a hunting trip or a shooting match scheduled at 5AM, it’s understandable to ask for clarification on whether or not there’s a problem with your gear.
In addition, if you’ve already contacted the company, and they either blew you off or were unable to answer your question – by all means, post online.
Most of the time, I have very good luck when I call manufacturers and dealers. Most of them realize that their reputation precedes them, and that sales in a cutthroat market are often based on how responsive they are to consumer needs and problems. Give them a chance to fix their mistake or help you out.
Use English
Unless you’ve got a seriously simple question, you’ll probably need to use more than one sentence – so use the period button and the spacebar. No, this isn’t grammar nazi-ism – if the people who are willing and able to help you can’t understand what you’re saying, you won’t be happy with the results. If you never learned how to spell, don’t worry, the readers will probably figure it out – but break up your words into manageable bits. Pretend you’re talking to someone at the counter of your local gun store – you’d stop to take a breath, right?
Describe What You Have
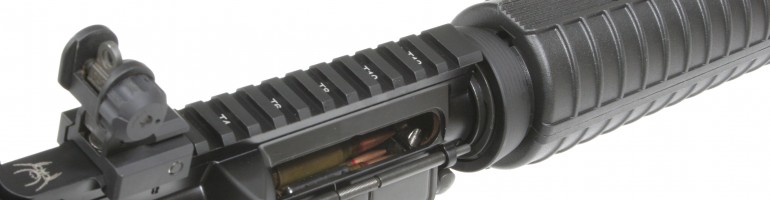
People who are trying to help you can do more if they know what you’re dealing with. My initial thoughts on “failures to feed” with a .22LR AR-15 upper on a registered full auto lower would be different than the same description with a semi auto 5.56mm weapon. Generally, what type of rail covers or what optic you have won’t affect function – but items such as action springs, bolt carrier groups, barrels, buffers, etc will. If you’ve recently changed anything, describe what you changed and how it functioned before the change. If you don’t know what parts you have, just describe where you got them – for example, “I bought this action spring from Hong Kong” will be helpful.
If you’re looking for advice on what to buy, this is also important. Someone with optics experience is probably going to recommend a different optic for a Remington 700 in .308 than they would for that full auto 22.
If You Have a Problem, Describe the Problem, Not Some Acronym
All too often, someone will post something along the lines of “I’m having FTF/FTE all the time, what should I do?”
The problem with this is that “FTF/FTE” are broad terms. Failure to feed? Failure to fire? Failure to extract or eject? You could mean “Failure to Function” when in fact the problem is failure to eject – all the time you and others spend chasing phantom problems will be wasted.
Describe exactly what’s wrong. If loaded rounds stop halfway up the feed ramps, say so. If empty cases are sticking in your chamber and the extractor is ripping a portion of the case rim off, say so. If the extractor is instead slipping off the case rim, say so. Don’t worry about using terminology that you aren’t sure about. Just describe the actual problem to the best of your abilities.
Be Patient, Be Respectful
You may not hear what you wanted to hear. You may not get the advice you wanted to get, or the justification for a purchase that you were looking for. You may not hear back from someone with a lot of knowledge right away. Don’t take your frustration out on the people on the forum. Fewer people will want to help you if you responded to the first few posts in a very negative manner.
—
I’ll probably update this, but it covers a lot of the common “mistakes” I see on various forums.